
The Ultimate Guide to Building a Budget Gaming PC (With Smart Upgrade Tips)
Building your first gaming PC doesn't have to break the bank. This step-by-step guide will show you how to assemble a powerful rig for 1080p gaming and provide a roadmap for future upgrades.

Why Build a Budget Gaming PC?
While pre-built systems offer convenience, building your own gaming computer delivers unmatched value, performance customization, and a deeply satisfying sense of accomplishment. For the same price as a mediocre pre-built, you can construct a machine that outperforms it significantly, tailored exactly to your favorite games.
The key to a successful budget build is a strategic approach: investing in a solid foundation with a clear upgrade path, rather than trying to cut corners on every component. This guide focuses on building a system that excels today and grows with you tomorrow.
Part 1: The Core Components for Your Build
Selecting the right parts is the most critical step. Our goal is a balanced build that eliminates bottlenecks and prioritizes gaming performance.
1. The Brain: CPU (Processor)
For a budget gaming PC, you don't need the most expensive CPU. A modern 6-core processor from AMD's Ryzen 5 or Intel's Core i5 series is the sweet spot. They offer excellent performance for the price and won't hold back a mid-range graphics card.
- AMD Ryzen 5 5600: An incredibly popular choice, offering fantastic multi-core performance and compatibility with affordable motherboards.
- Intel Core i5-12400F: A strong competitor with excellent single-core performance, ideal for gaming.
- Pro Tip: Look for CPUs with a "F" suffix (Intel) or without integrated graphics (AMD). You'll be using a dedicated GPU anyway, so you can save a few dollars.
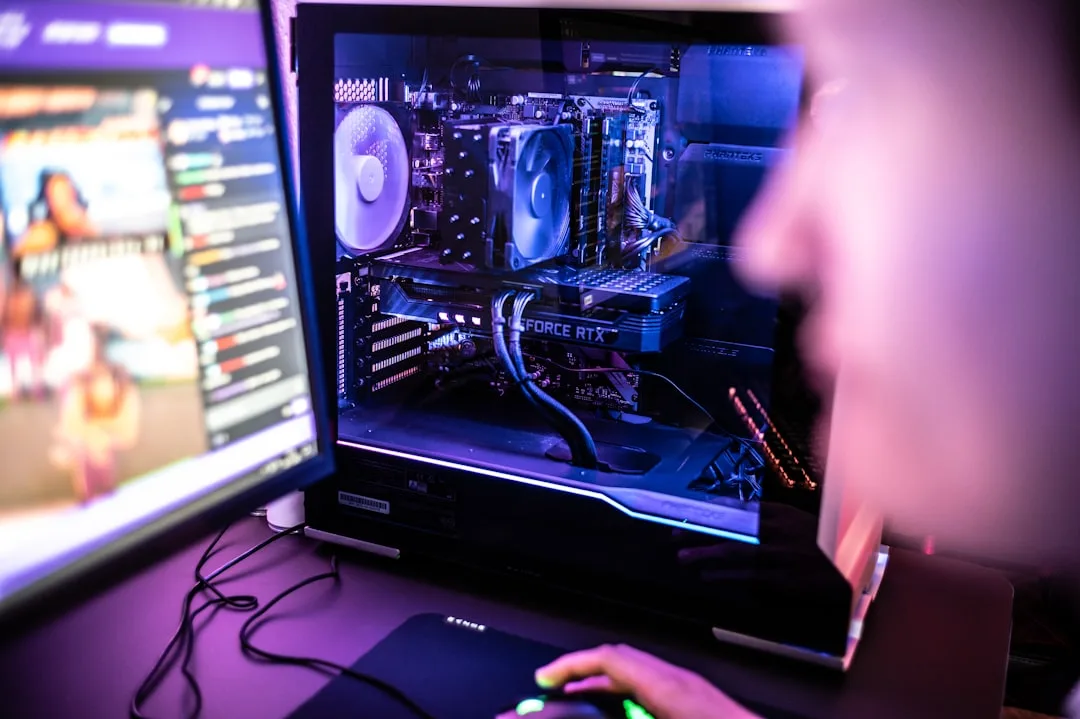
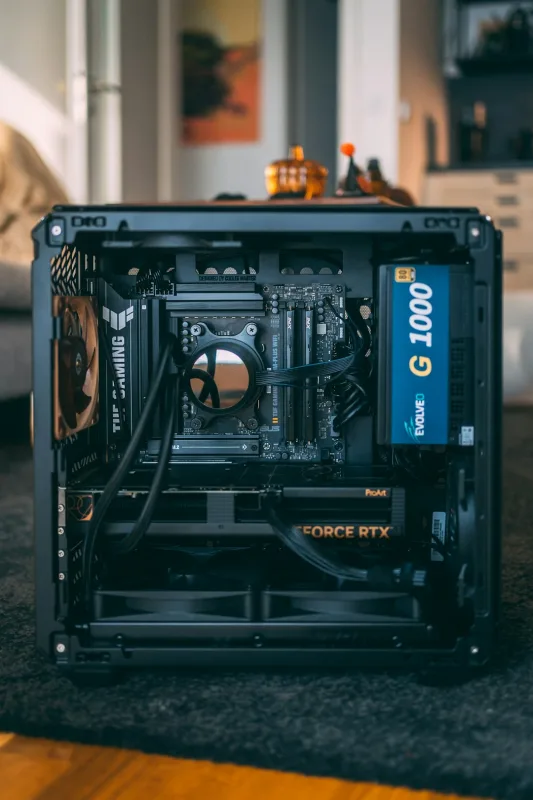
2. The Heart: GPU (Graphics Card)
This is your most important purchase—the GPU has the biggest impact on gaming frame rates. The used market is a goldmine for budget builders. Consider previous-generation cards like the NVIDIA RTX 3060 or AMD Radeon RX 6600 XT, which offer tremendous value.
3. The Foundation: Motherboard
You don't need a flagship motherboard, but don't buy the absolute cheapest one either. Look for a B-series chipset (like B550 for AMD or B660 for Intel) that has the features you need: enough fan headers, a decent audio codec, and a modern interface like PCIe 4.0 for future storage upgrades.
4. The Short-Term Memory: RAM
16GB of DDR4 RAM is the standard for modern gaming PCs. It's the perfect balance of cost and performance. Aim for a kit with a speed of 3200MHz for AMD or 3600MHz for Intel.
- Buy a 2x8GB kit to utilize dual-channel mode for better performance.
- Ensure the RAM is on your motherboard's Qualified Vendor List (QVL) for best compatibility.
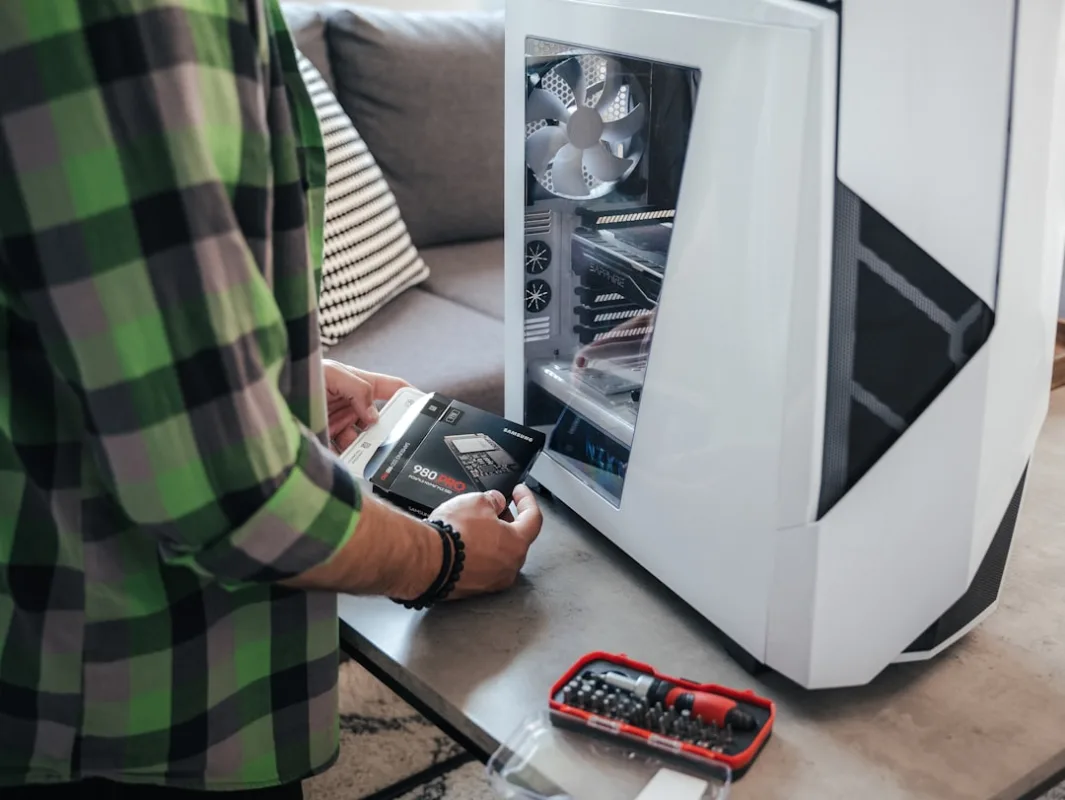
5. The Long-Term Memory: Storage (SSD)
An NVMe SSD is non-negotiable for a modern PC. It drastically reduces load times. A 1TB NVMe SSD is the ideal starting point, giving you enough space for your operating system, essential applications, and several large games.
6. The Engine: Power Supply (PSU)
Never cheap out on the power supply. A low-quality PSU can damage your components. Look for a reputable brand (like Corsair, Seasonic, or EVGA) and a 80+ Bronze rating or higher. A 650W unit provides ample power for this build and leaves room for future upgrades.
7. The Home: PC Case
Choose a case with good airflow (meshed front panel) and that is easy to build in. It doesn't need to be flashy, but good cable management features will make your life much easier.
Part 2: The Assembly Process
Now for the fun part! Set aside a couple of hours in a clean, well-lit, and static-free area. Use an anti-static wrist strap if you have one, or periodically touch the unpainted metal of your case to ground yourself.
- Prepare the Case: Remove both side panels. Install the power supply, route the necessary cables, and screw in the standoffs for the motherboard if they aren't pre-installed.
- Install the CPU, RAM, and SSD on the Motherboard (Outside the Case):
- Lift the CPU retention arm, align the CPU correctly (look for the golden triangle), and place it gently. Lower the arm to lock it in.
- Install the RAM by pushing down on the clips, aligning the notch, and firmly pressing until they click into place.
- Remove the screw for the M.2 slot, insert your NVMe SSD at a slight angle, and secure it with the screw.
- Mount the Motherboard: Carefully lower the motherboard into the case, aligning it with the I/O shield and standoffs. Secure it with the provided screws.
- Install the GPU: Remove the corresponding PCIe slot covers from the back of the case. Push the clip on the PCIe slot open, align the GPU, and press down firmly until it clicks. Secure it with screws.
- Connect All Cables: This is the most meticulous part. Connect the 24-pin motherboard power, 8-pin CPU power, PCIe power to the GPU, SATA power to storage (if any), and the front-panel connectors (power switch, USB, audio) as per your motherboard manual.
Part 3: Your Smart Upgrade Roadmap
A great budget build has a clear upgrade path. Here’s the optimal order to enhance your PC over time.
Priority 1: More RAM or Storage
If you find yourself running out of memory with many applications open or your game library is full, this is the first, easiest, and cheapest upgrade. Add another 16GB RAM kit or a secondary 1TB or 2TB SATA SSD for extra game storage.
Priority 2: A More Powerful GPU
This is the single biggest upgrade for gaming performance. When you're ready to move to 1440p gaming or want higher frame rates, upgrading to a current-generation mid-range card like an RTX 4060 or RX 7700 XT will provide a massive boost.

Priority 3: CPU and Cooler Upgrade
In a year or two, you can drop a more powerful CPU into your existing motherboard (after a BIOS update). For example, you could upgrade from a Ryzen 5 5600 to a Ryzen 7 5800X3D, one of the best gaming CPUs for the AM4 platform. Pair this with an affordable aftermarket air cooler for better temperatures and quieter operation.
Priority 4: Peripherals and Aesthetics
Once the core performance is where you want it, consider upgrading your experience with a high-refresh-rate monitor, a mechanical keyboard, a better mouse, or adding case fans and RGB lighting for a personalized look.
Final Checklist Before You Power On
- Is the CPU power cable (8-pin) connected?
- Is the motherboard power cable (24-pin) connected?
- Is the GPU power cable (6+2 pin) connected?
- Is the RAM fully seated and in the correct slots?
- Is the CPU cooler plugged into the CPU_FAN header?
- Are all cables managed and clear of fans?
- Is the monitor cable plugged into the GPU, not the motherboard?
Double-check every connection. When you're confident, plug in the power supply, flip the switch on the back, and press the power button on your case. If all goes well, you'll be greeted by the motherboard's BIOS screen. From there, you'll need to install Windows from a USB drive and then your graphics card drivers.
Building a PC is a rewarding journey. By starting with a smart budget build and following this upgrade path, you'll have a powerful gaming machine that evolves with your needs and skills. Happy building!


0 Comments
Leave a Comment